*Do not use the Drupal webforms to collect sensistive data such as social security numbers, drivers license, etc. Please use iNtelforms for those purposes.
Step by step instructions
- In the administration menu go to Add Content
- Click on Webform
- Add your title
- In the Body - enter the descripton of the form and any special instructions for the submitter.
- If you want to include it in the main menu, select Provide a menu link at the bottom and place accordingly in the drop down option.
- Hit Save to move to the next screen and where you will add the fields if information you want to capture.
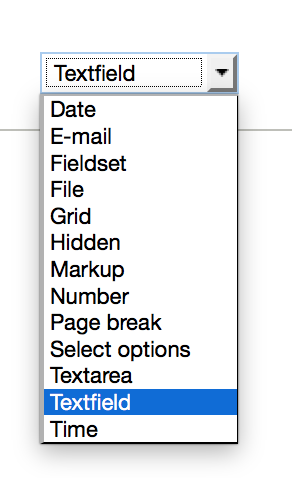
- You have the following options are the most commonly used on simple forms:
Text (use for names, addresses)
Email
Fieldset (group different content areas of your form that can be opened or closed on click)
File (to upload files to the form)
Grid (useful for surveys)
Hidden (used to pass information that the user might not know such as the exact time the form was loaded, advanced use)
Markup (HTML text for copy between fields)
Number
Page break
Select options
Textarea (larger text box used for lenghty copy)
Textfield
Time
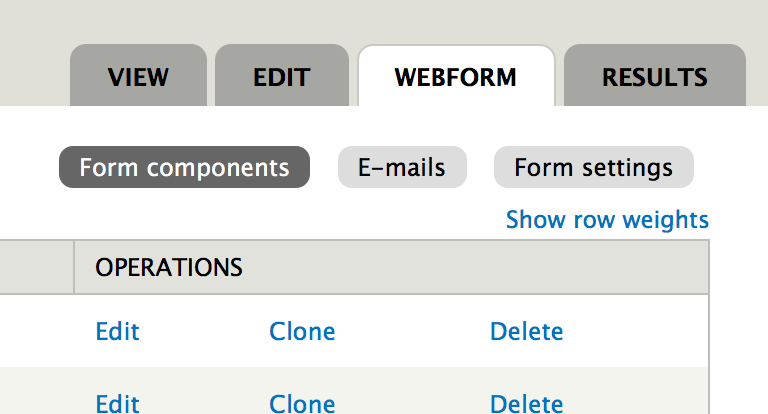
- Once your form is built, you'll need to assign who will be receiving the submissions. The webform also keeps a copy of every submission online until you decide to purge submissions after downloading them if you choose to do so. In the edit mode of the webofrm, select E-mails - this is where you place the recpeints adress who will receive all forms. Once you add the email address you will be prompted to customize how the email looks when you receive it. (Subject line, email from address, from name, etc)
- If you are receiving files from submittors, check the box at the bottom "Include files as attachments".
- Save! You will receive the emails upon submission.
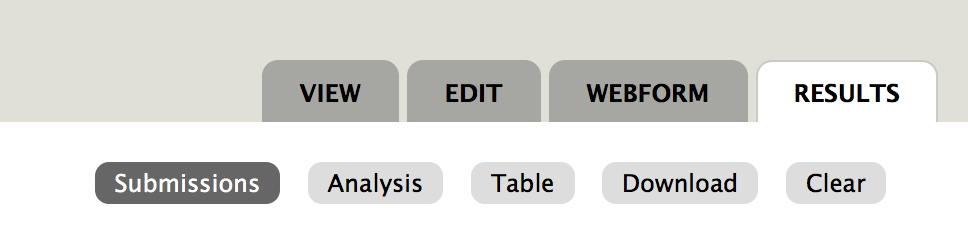
- You can download all submissions into an Excel or text file by clicking "Results".